
Was so glad to read about an opportunity to write Ecological Restoration grants to create native plant gardens for two public places in Hyde Park, NY last October.
Well, both grants were awarded and over $9,171 has been carefully allocated thanks to Partners for Climate Action, Hudson Valley, a project of The new World Foundation. Working with Avalon Bunge, Ecological Projects Manager for Partners for Climate Action has been a rewarding pleasure.
So – have been busy with planning, paperwork, purchasing, planting, and watering this summer!
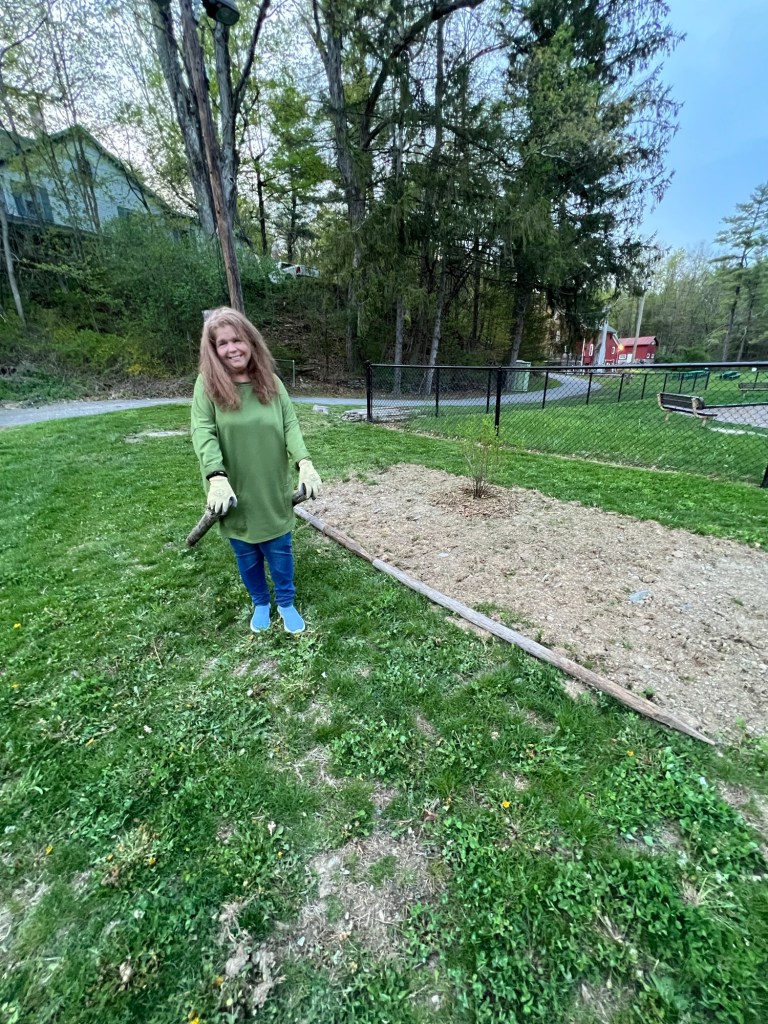
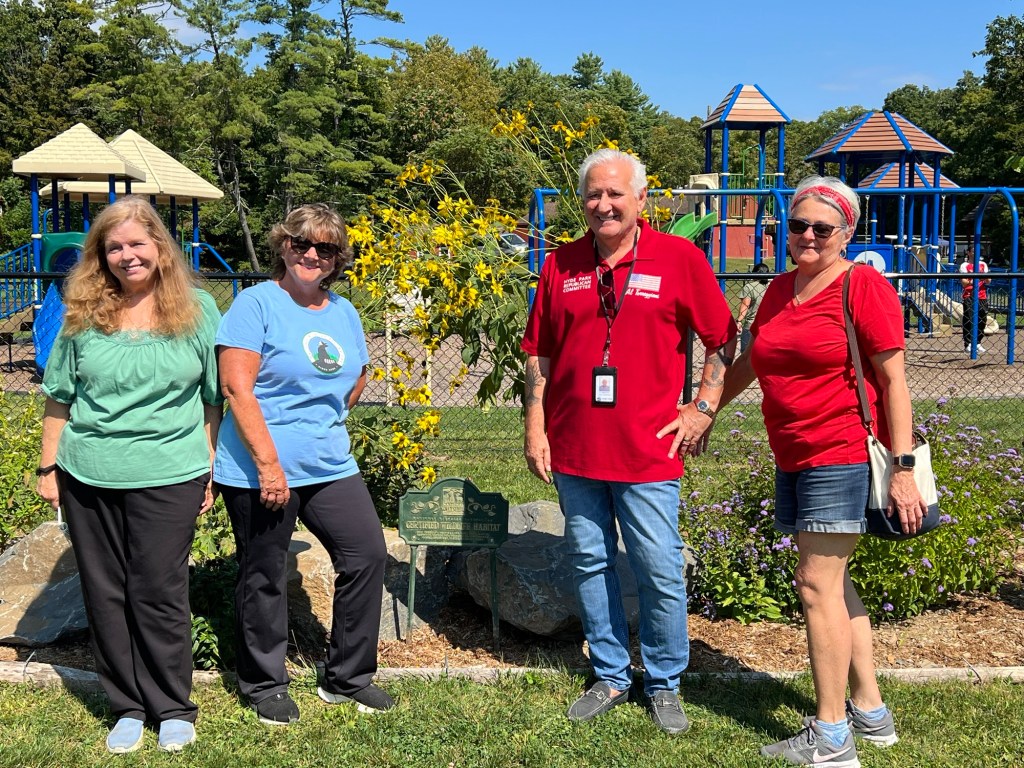
On September 13, 2025 during Community Day, the Town Supervisor and Chair, Mary Langenau and myself spoke about the importance of growing native plants at the dedication of Native Plants of Hyde Park Garden at Hackett Hill Park on East Market Street.
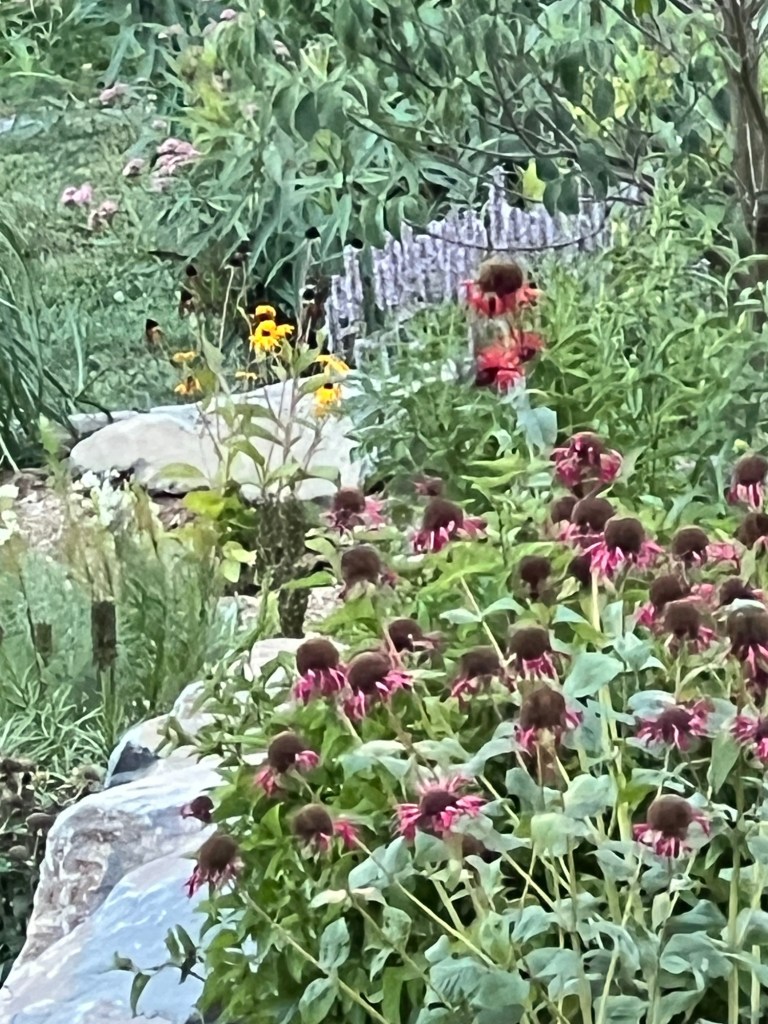
The 80’ long x 7’ wide garden bed is complete with native trees, grasses, and a diverse selection to provide a positive habitat for pollinators.
The focus is on plants that offer food, cover, water, and places to raise young – also qualifying as a National Wildlife Federation Wildlife Habitat.
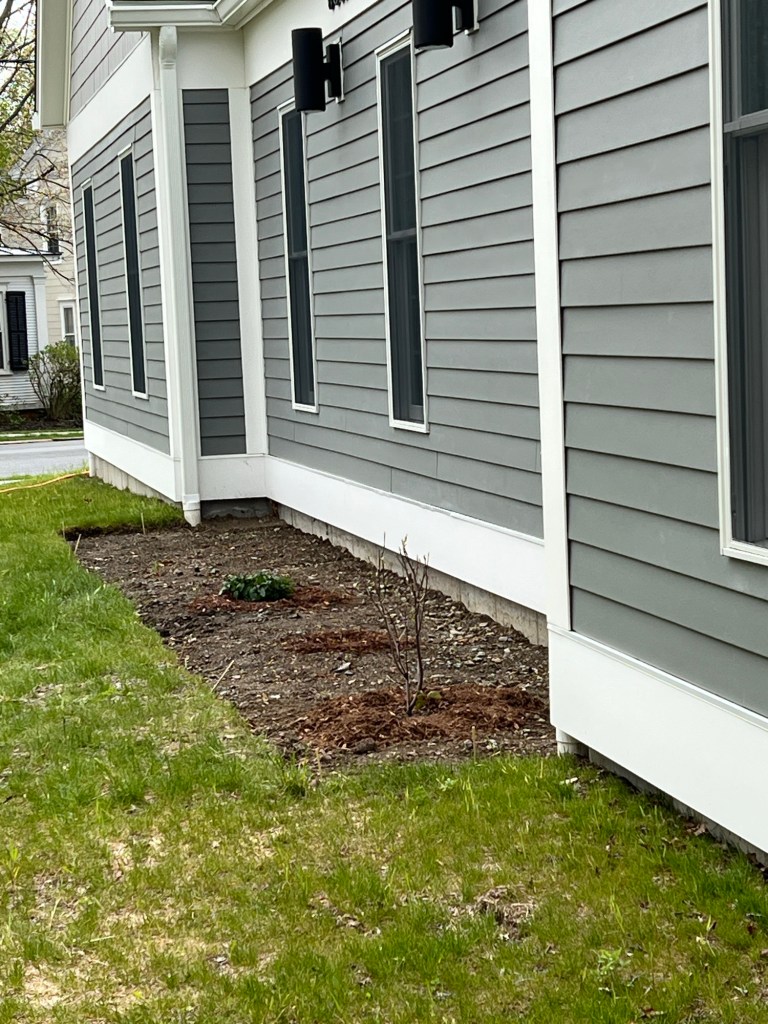
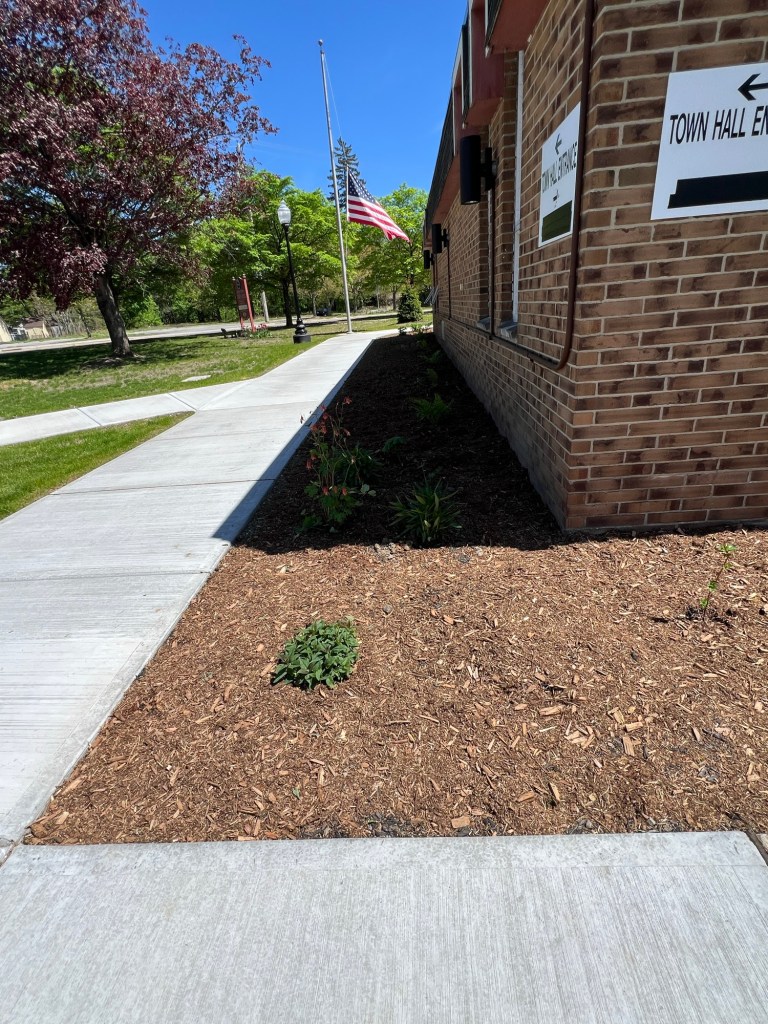
On October 20th the Hyde Park Town Hall Pollinator Garden will be dedicated. Great care and research was done to ensure that 6a native plants would thrive.
The planting beds mainly face east and south and will be beautiful and purposeful gardens for decades to come.

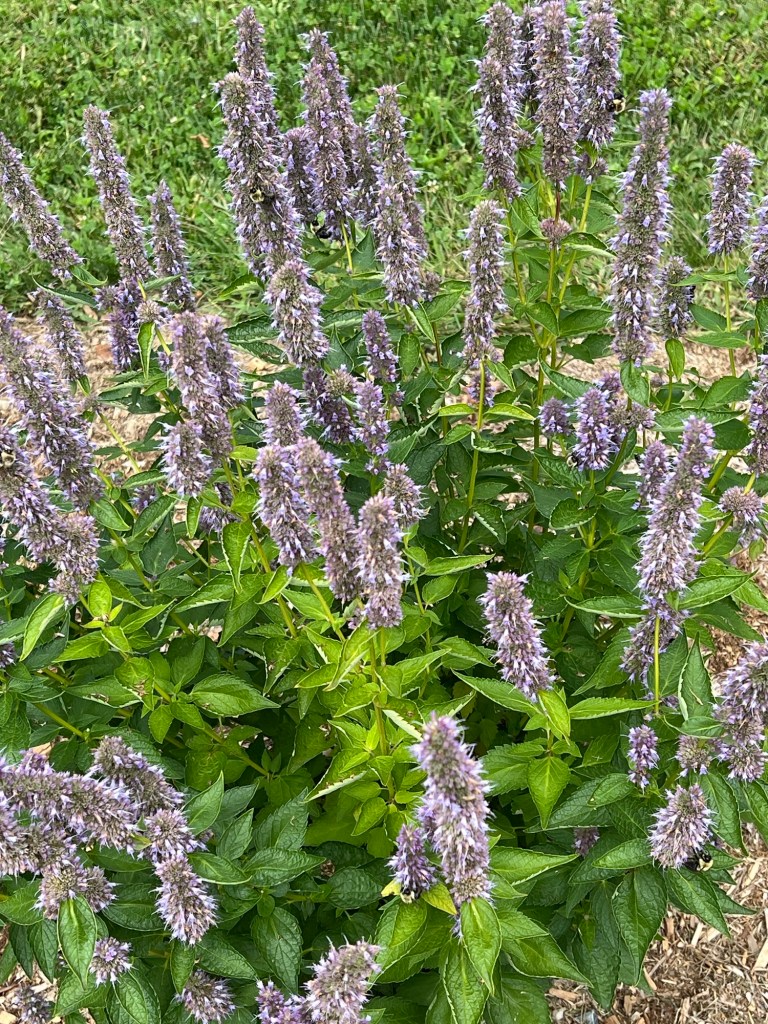


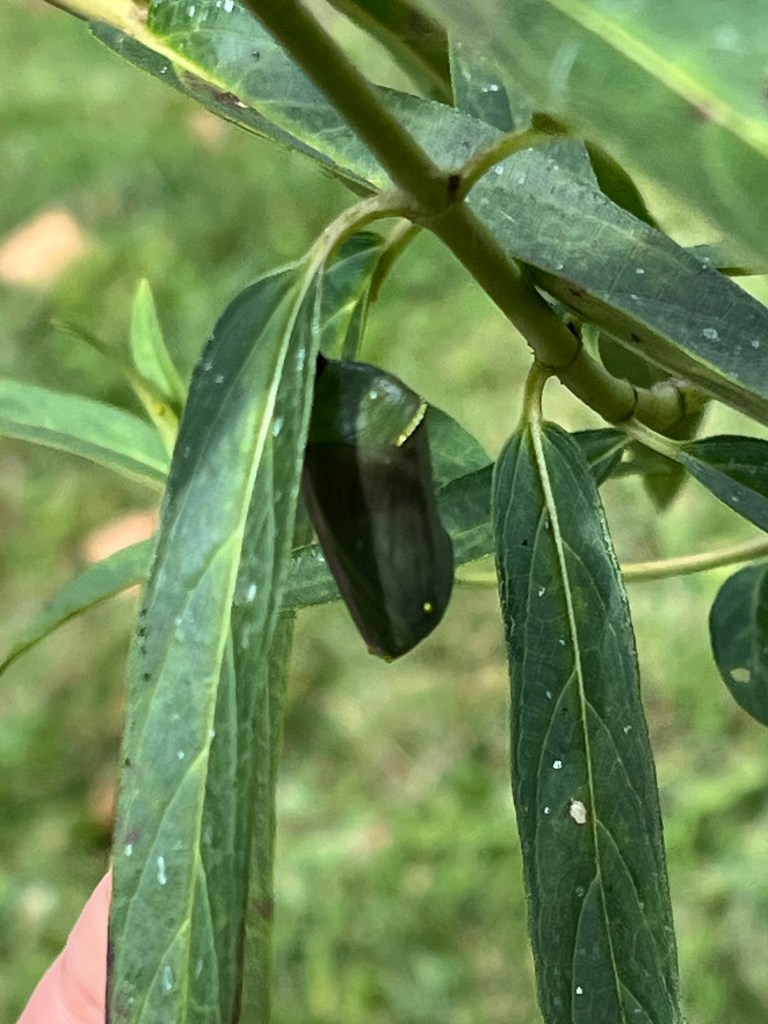
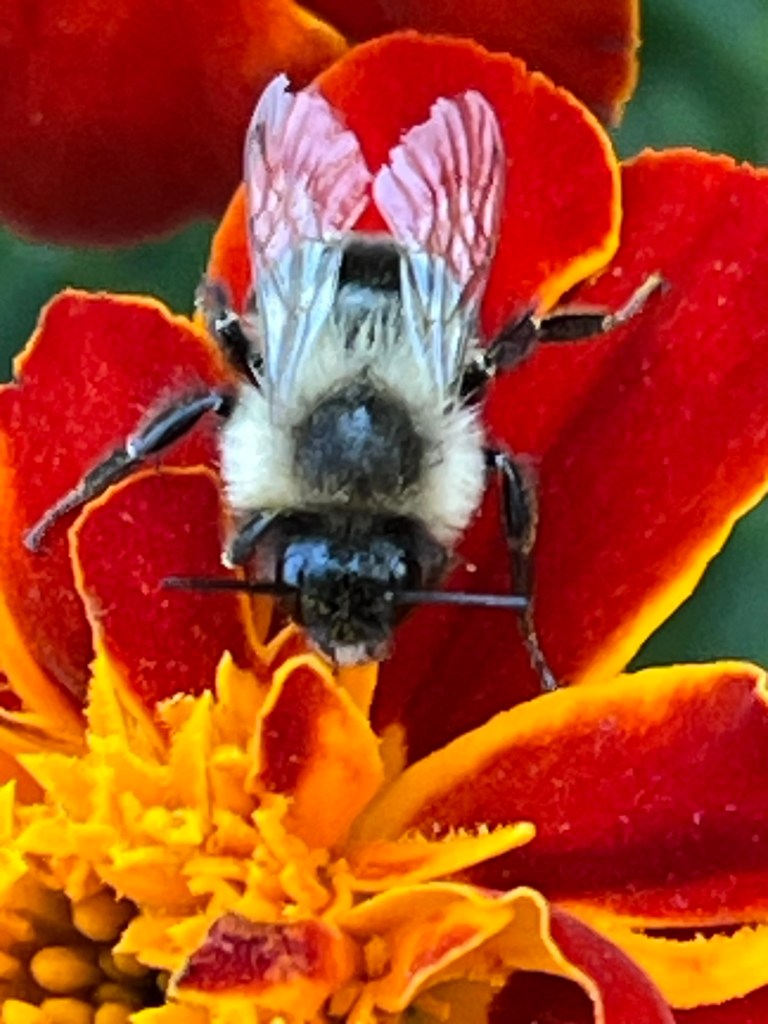
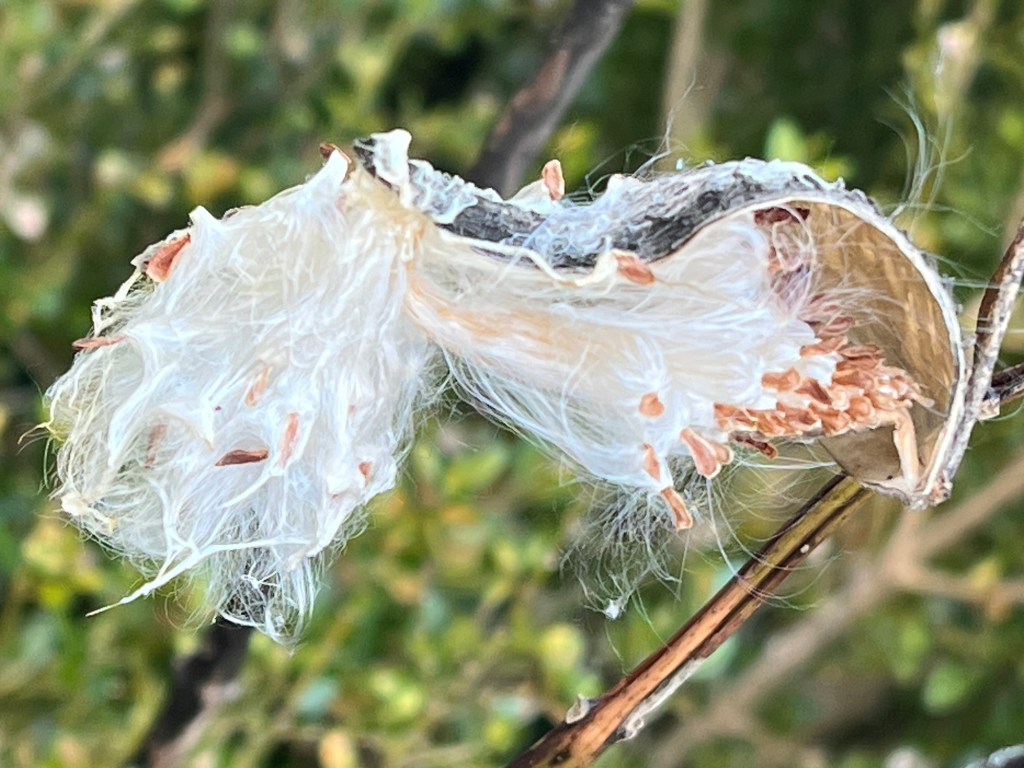
Supporting threatened native pollinators is the continuing goal with an emphasis on providing the nectar that the Karner Blue Butterfly, Monarch, and Swallowtail Butterfly depend on.
An organic garden and yard is easy to achieve.
Written by Barbara Hobens
First written for and published for Reviewed on July 10, 2019
Organic gardening means only using products that are natural, not synthetic, to care for everything you grow. Sounds great, right?
But keeping things simple can still be complicated if you’re not sure what to do. Want to start incorporating organic gardening and lawn care into your yard? Here’s everything you need to know.
Before the Industrial Age, home gardeners and farmers used natural ingredients to grow vegetables, fruits, berries, and herbs. Synthetic pesticides were introduced in the 1930s and 40s, but have garnered a mixed reception among users and produced potential health risks.
Gardeners can now look for labels that clearly state that the product is organic. The following products are no longer marketed or sold as being organic: synthetic pesticides, herbicides, fungicides, and genetically engineered or modified seeds and plants. DDT wasn’t banned until 1972, but only a few stores have banned RoundUp. Over a hundred products that are possible carcinogens are still being used. Read the entire label since “must wear gloves when using” is certainly not organic no matter how “Earth-loving” the product name sounds.
It is not a simple task to gain the legal right to have a product labeled organic by the U.S. Department of Agriculture and listed with the Environmental Protection Agency. When you buy something with their USDA Organic Seal label, it means it is free of pesticides and chemical fertilizers.
The terms “natural” or “all natural” have no legal definition with the EPA. They are responsible for protecting the environment, not food, and only certify organic garden and lawn products as being safe. Although the term “natural” should mean that it comes from the earth with little processing, that is not the case, so only purchase products labeled “organic” if that’s your goal.

There are several reasons you should consider tending an organic garden:
Products sold to kill insects and weeds and to make lawns more green is lucrative to the manufacturers, but needless for achieving a healthy lawn.
Organic lawns are also green and may often include violets and clover. They are safe for walking barefoot, for bees to visit, children and pets to play on, and wildlife to walk across and eat.
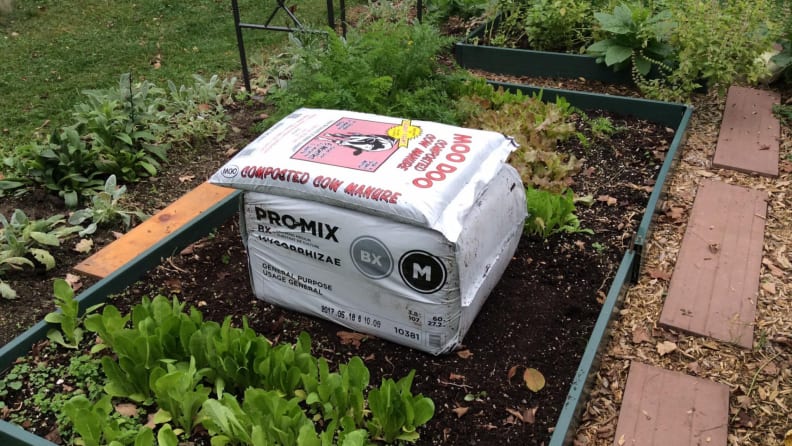
In small growing spaces, such as a window box, hanging planter, or container, don’t expect an unending source of nutrients to keep the flowers, vegetables, or herbs fed. You’ll need to supplement with fertilizer for optimum growth with an organic all-purpose fertilizer to the surface once they are planted.
Fertilizer can be added to annuals every two weeks. There is no need to make a fuss out of feeding your plants since it is not a precise or complicated science. Whether you purchase a powdered fertilizer, slow-release pellets, or something in a water-soluble form, read through the ingredients of the directions carefully and make sure the word “organic,” not “natural,” is used.
Fertilizers list a ratio of three numbers on the bag or box. The first number is nitrogen, which produces more chlorophyll, making foliage grow quicker; the middle is phosphorus, for root development and bloom size; and the third is potassium, which is key to disease protection. You can add a 5-10-5 granule mix to the soil in early spring and follow with a time-release fertilizer to last the rest of the gardening season, but the benefits will only last through that growing season. A soil test is best to determine what supplements your planting areas need.
For all fertilizer applications, wet the soil thoroughly beforehand and take care not to get any on the plants’ leaves or stems. Always follow with a deep watering since it stimulates plant growth and increases your plants need for water. Jot down when you have fertilized on your calendar or in your garden journal to note results and to plan for next year.
In addition to traditional fertilizer, there are some DIY methods you can use to boost the health and look of your garden.
Burying fish heads in vegetable gardens is a tradition for some folks, but nowadays, it’s easier to add fish emulsion that is a lot less complicated and is available in a concentrated liquid. Add a capful in a watering can or bucket and fill with water to feed all growing plants. Since the scent can linger, we suggest applying a few days before a garden party.
Mid-summer hot temperatures can stress out your tomato plants. If you notice that the leaves are yellowing just as the tomatoes are turning from green to red despite getting enough water, it could be a magnesium deficiency. Scratching some Epsom salt into the soil around the plants gives a natural boost to the roots.
Create a compost “tea bag” to add essential nutrients. It’s simple: Add some compost or manure into a piece of cheesecloth or into a clean cotton sock. Close the top with a rubber band and add your “tea bag” into a bucket of water or watering can. Let it sit for a week, remove the bag, and pour around your plants.
Control garden pests organically by spraying on a multi-purpose pest killer, horticultural oil, concentrated liquid garlic, fungicides, or create-your-own recipes. Temptations to stray to chemical warfare may emerge when unwanted pests attack, but there are many organic products and homemade cures that are just as effective. For pests, Pyrethrum spray and insecticidal soap works wonders.
Here are some common summer culprits to keep an eye out for:
While pruning a rose bush, you may see tiny black aphids attached to the stem. Put on gloves and grab onto the affected area, set your water nozzle at a stronger setting, and just blast them off. You can also spray organic insecticidal soap to kill harmful insects such as aphids, mealybugs, and white flies.
Or try this organic homemade remedy right from the kitchen: Place some unpeeled garlic bulbs in a jar and cover with vegetable oil. Let this sit for a day, then add 2 tablespoons of cayenne pepper, 10 shakes of capital Tabasco sauce, 2 tablespoons of dishwashing liquid, and shake. After it settles, pour the mixture into a 32-ounce plastic spray bottle and fill to the top with water. Spray on and under leaves and stems. Make sure you label the bottle and refrigerate the rest for future use.
Do the full, pink phlox or monarda look like someone shook dusting powder all over the leaves? Powdery mildew is a common fungal disease caused by dry soil and high humidity and seems to occur after brief summer thunderstorms. Depending on the severity of the mildew, a few homemade recipes will work. One option is to remove the affected leaves, prune the plants to improve air circulation, and fill a sprayer 40% of the way with whole milk and 60% with water. Spray the plant with the mixture, and make sure you get the underside of the leaves. Another successful recipe for reducing powdery mildew is to add a teaspoon of baking soda and three tablespoons of horticultural oil to a sprayer and top with water.
Slugs can do a lot of damage to healthy plants. If you don’t have slugs, you are very lucky; if you do, join the party. There are a number of options you can try: add some dishwashing liquid and water to a jar and as you see them, pick off the plant and drown them, buy anti-slug pellets, pour salt on them, ring plants with crushed egg or seashells, circle your garden with copper flashing tape, or placing dryer sheets just under the soil. Since this is easier and effective, I pour non-alcoholic beer in a tuna can “planted” even with the ground; they crawl in to drink and drown.
You can order beneficial bugs to release in your garden to eat up the ones eating your plants. Numerous catalogs offer live delivery of insects. Ladybugs eat aphids and mealybugs, and praying mantises eat every insect in sight, with a special appetite for tomato hornworms and flies.
Weeding is part of the gardening experience—seeds are brought in by birds and spread in the wind. Physically pulling them is the most effective way to reach a weed-free garden. Pick them by hand as soon as you see them. Make sure you get out the whole root or it will just grow back and most likely spread. Invest in a great weeding tool that will get the entire root out.
Purchasing seedlings that have been grown organically is more expensive, but can be worth it for those looking to grow organic plants.
Plant and garden supply catalogs list an assortment of liquefied, concentrated, pelleted, composted, and granulated organic fertilizers and soil amendments. Some natural and recycled ingredients available include kelp; cow manure; worm castings; ground crab, lobster, and crawfish shells; bat guano; rock and mineral powders; bone meal and dried blood (high in nitrogen and a great summer soil booster).
Visit garden shops for new products and fun ways to add organic nutrients to your soil. A few years ago, I was given a gift of small frog and rabbit statues made from compressed manure that slowly disintegrated. They looked right at home in an herb planter on the roof garden, and (like all aged compost) they were odor free.
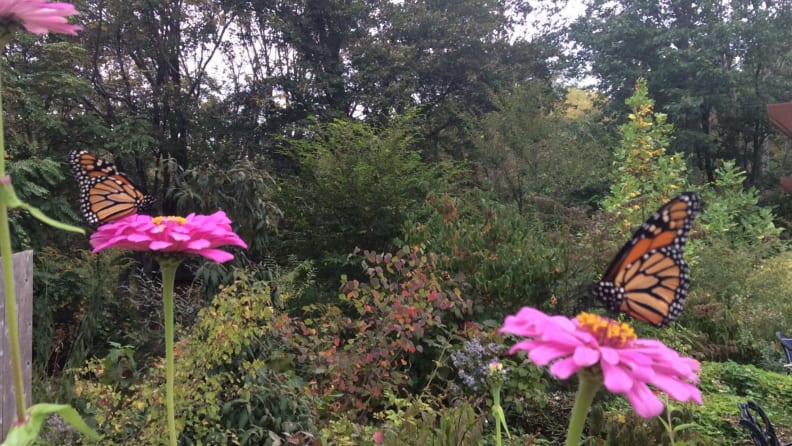
Do you enjoy welcoming wildlife to your garden and buy seed or suet to attract songbirds to your yard? Do you purchase plants that you hope will attract bees, butterflies, and hummingbirds? Consider how the products you’re using in your garden beds, on your lawn, and elsewhere in the yard may harm or even kill them.
Organic gardening is simple, less expensive in the long run, and you can smile when you notice a bird eating a berry or a rabbit nibbling on the grass, and know you have helped nourish them.
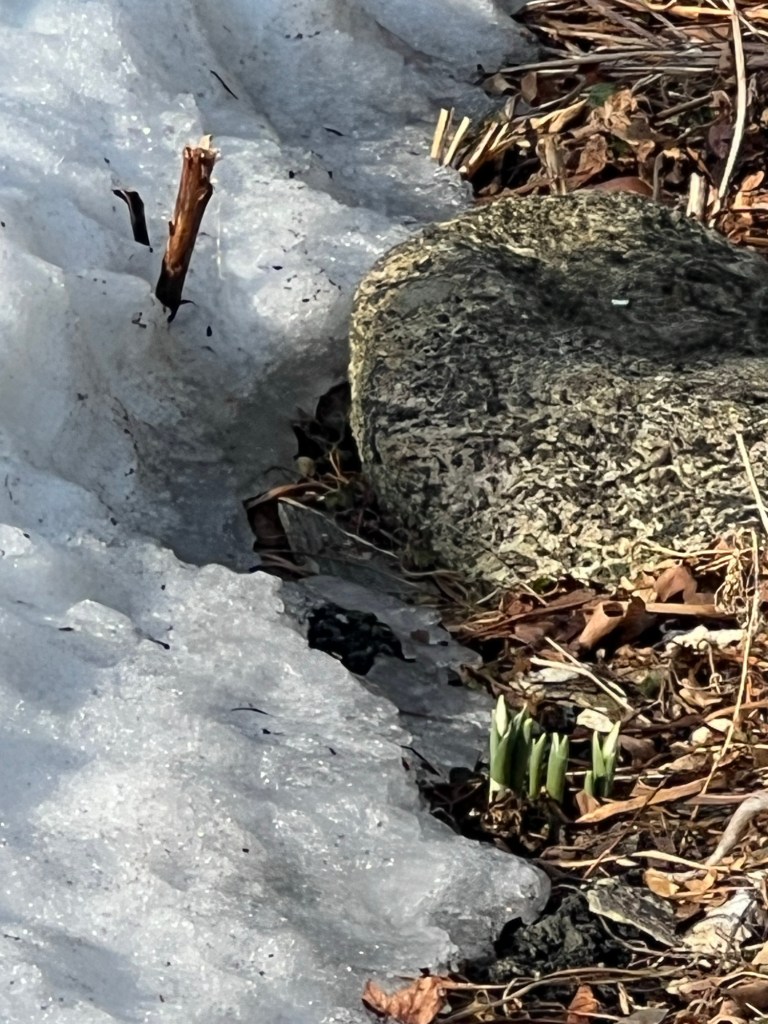
See where the snow has melted first? Is it against the south side of the house or west side of the garage?
Create an “Late Winter Map” of your outdoor spaces to pinpoint best places for planting future spring-flowering bulbs in the fall.
If you place a boulder or create or have a natural rock outcropping, this is where the soil will heat up and enable earlier snowdrops and crocus to emerge.
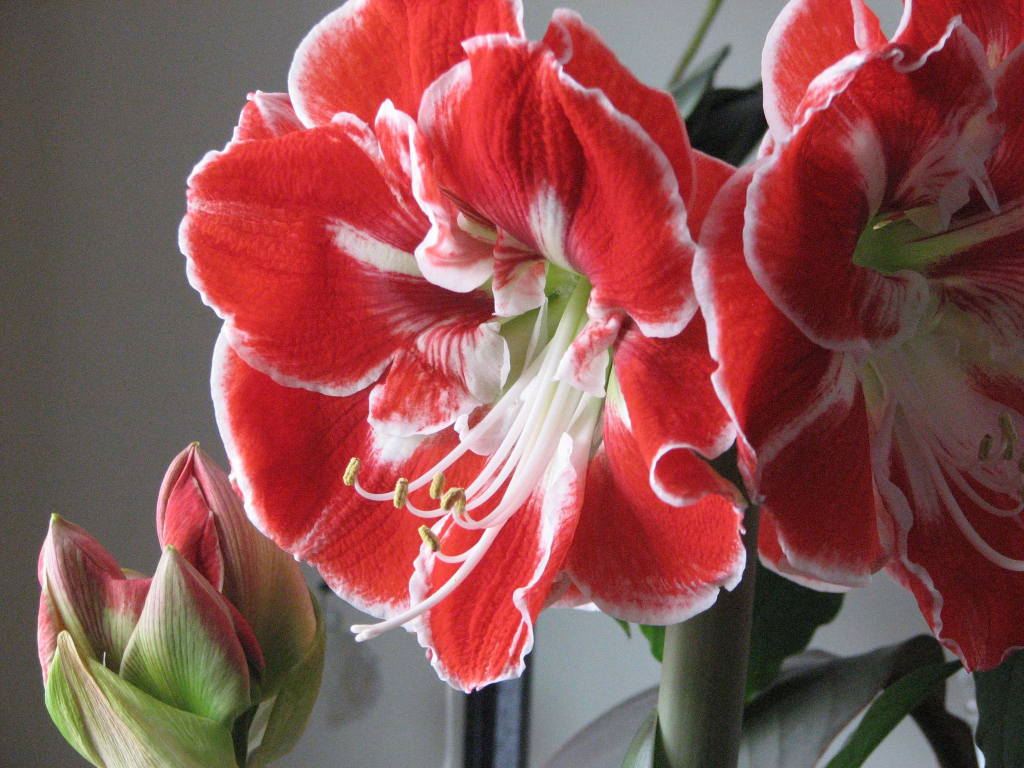
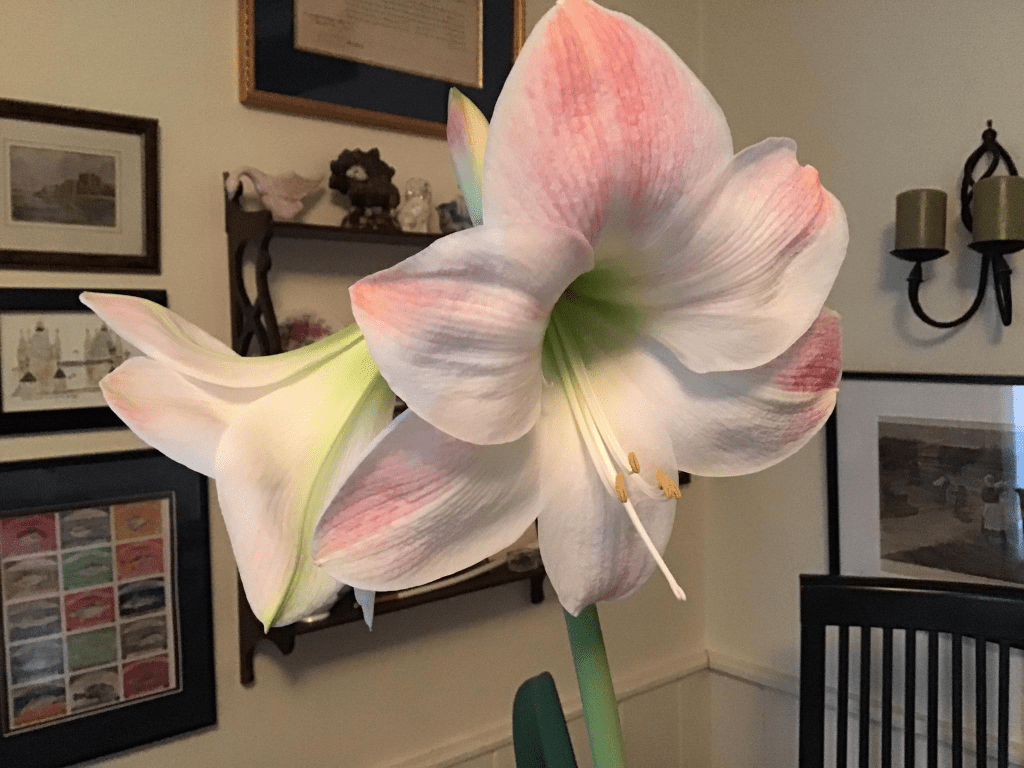
The amaryllis is such a beautiful and cheerful welcome to see during the winter! Watching the stem and flowers emerge a bit each day (while turning the planter near a direct light window to get “even sunlight”) is a treat for every gardener.
I have purchased them through the years from White Flower Farm, local garden nurseries, and from Home Depot and Lowes and have never had a failure. Frankly, I don’t think you can fail! From a bulb to gorgeous blooms in 7-to-10 weeks. And, if you purchase a few of them, start in early October and then plant the bulbs every 2 weeks.
The box they come in with usually has a growing medium that expands when added to warm water. If not, add to a few inches of soil or potting compost in a container that is wide and tall enough for the bulb. Push down on the soil to make sure it is solidly planted but leave the top of the bulb uncovered. I have only had to “steady the stem” by using marshmallow skewers a few times.
Ideally, keep the pot where it gets direct sun, but I have never had them in the “recommended temperature of 68 to 70 degrees F.” This 1890 house is kept at 60-61 degrees and all three photos prove they do just fine!
Add some warm water to keep the soil moist and as the stem, bud, and leaves grow, add some more. The flowers will appear when the stem and leaves finish growing. After the amaryllis flowers all fade, cut them off the stem them cut it at the base when it starts falling over. Keep in or by a window and water and fertilize it for about 6 months. When you see the leaves turning brown, cut them down to about an inch, pull the bulb out, brush off the soil, and store in a cool dark place for 6-7 weeks then plant again!

My Christmastime favorite – Red Lion.
A note on pots: amaryllises grow fine using decorative bowls and containers without drainage holes. I have used marbles, pebbles, and just nothing but soil – taking care not to let the planting medium get too wet. I fill the soil just up to the fattest part of the bulb. Some friends add houseplant fertilizer and swear that it increases flower size. I have never done it.
Ever since I started growing vegetables by seed, I concentrated on finding companies that offered only those that were not chemically treated or genetically engineered. It just made sense!
As an affiliate, I suggest products I have used for many years, love, and/or have researched and earn a commission from qualifying purchases you order.
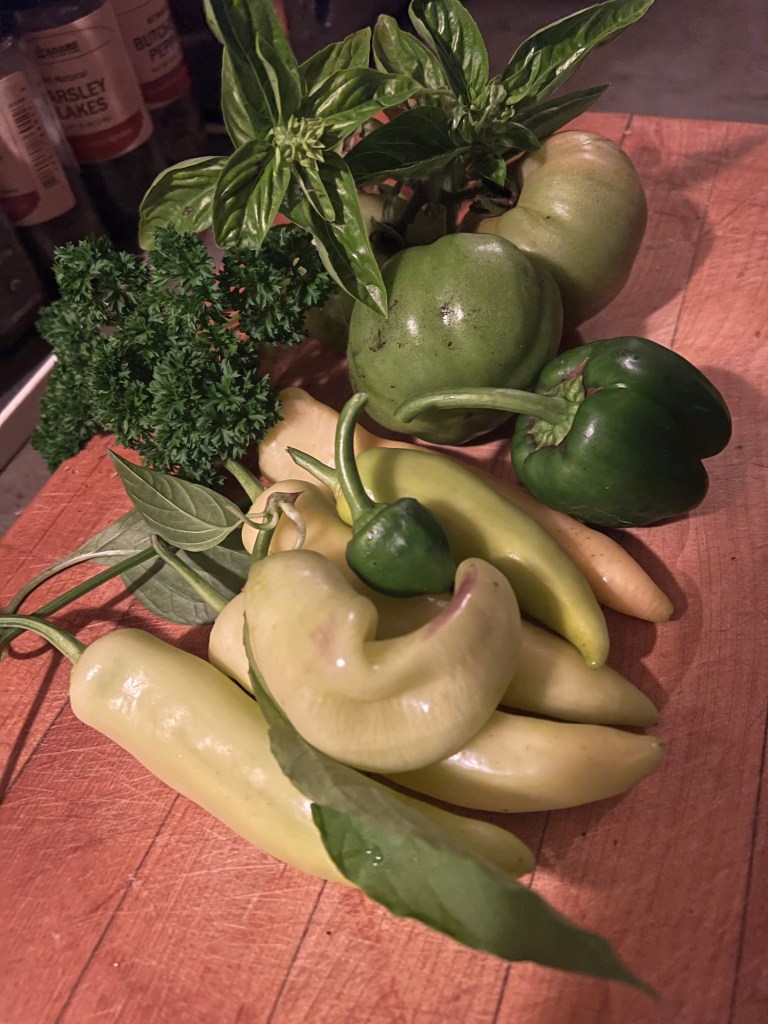
All of the seed packets from Renee’s Garden Seeds truly explain everything you “need to know to grow.” Not only will you know when you will be able to harvest that pepper, but when to plant it, how, where (best sunlight conditions), and the height and special information about that particular variety. Their focus is on the true pleasure of growing from seed and the selections offered and cookbooks are sure to please both the new and seasoned gardener.
Her selections of organic and Non-GMO seeds make it difficult to narrow the choices down! Why add organic compost to your soil, plant to enjoy special varieties not available in stores or local nurseries, and then grow chemically treated seeds? That said, I have ordered many packets of flower and vegetable seeds from Renee’s Garden Seeds for over two decades and have had great harvests. A years-long favorite are her Jericho Romaine lettuce seeds which also happens to be my Siberian Husky’s absolute favorite!
I had the pleasure of meeting Renee Shepherd when we were both speakers at the Philadelphia Flower Show! What a powerhouse of a woman and what a selection of annual and perennial seeds from her quality-focused seed company.
Read more of this content when you subscribe today.
As an Amazon, BestNest, and Plough & Hearth affiliate I suggest products that I love and/or have researched and I may earn a commission from qualifying purchases you order by clicking on the highlighted and underlined links.
Not only gardeners have noticed that this winter has been the warmest one on record and that snowfall has declined all around the planet due to climate change. And we also know that “Mother Nature” sends unexpected surprises that have caused many a magnolia tree to have all blossoms drop and early attempts of planting vegetables to fail.
What can we do? Try one or two. Never plant ALL of your lettuce seeds or ALL hardened tomato or pepper plants ahead of your usual/normal/tried-and-true time. For me, mid-or the end of May has been the earliest time for the soil to really warm up and the night temperatures are above 50 degrees Fahrenheit/10 Celsius. Why? Because I once lost EVERY pepper and tomato plant I had so carefully nurtured indoors and hardened off so patiently. Ever since, I hold off and wait. An attractive and accurate outdoor thermometer, placed so that you can easily read it from inside, is such a help.
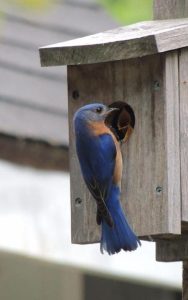
TIME FOR THE BIRDS
In the meantime, I am making sure that all of my garden tools and supplies are ready – easily seen, clean, sharpened, and in their designated place in the garage. My outdoor focus is on the birds now and just refilled the feeder this morning with sunflower seeds. Until they have more to eat in the garden, I do make a point of making sure the feeder is kept full.
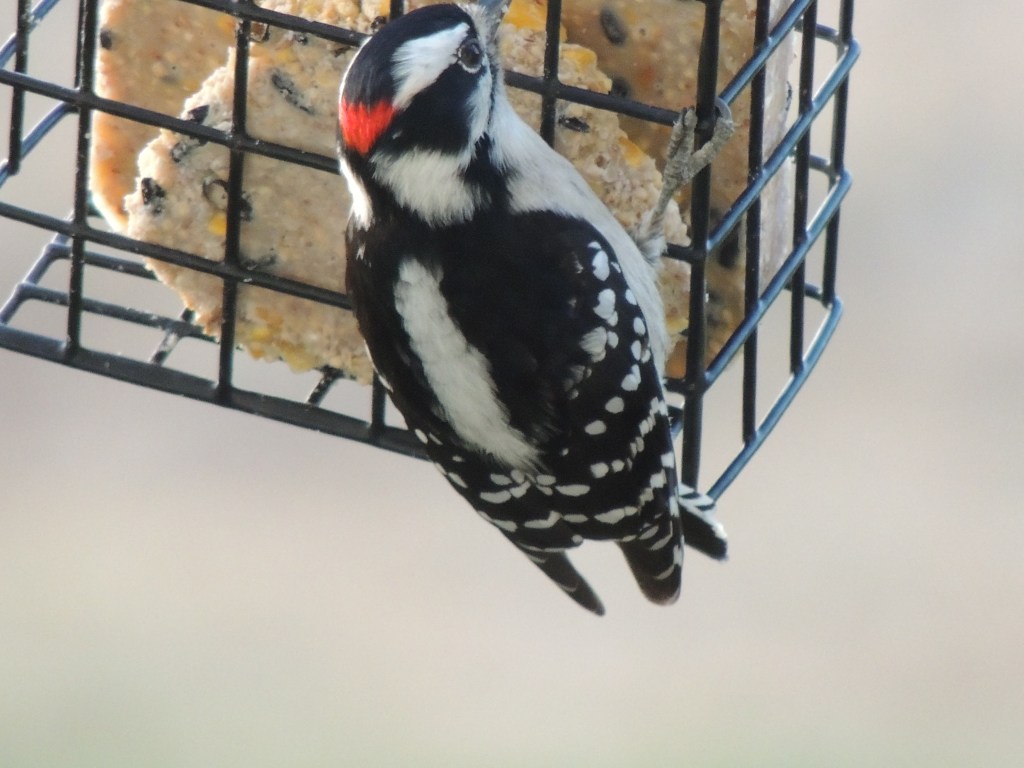
Both woodpeckers and birds really enjoy swooping in for some suet. I have never bothered with “Hi-Energy” branded ones since the regular berry and peanut butter suet cakes have been the favorites for “my” birds. It is so much easier to fill when you hang up easy-to-replace suet holders.
Of course, birds also need clean water and both a stream and pond are here for the birds where I live now, but my favorite birdbath was one I had on my deck that was viewed from the kitchen and dining room window. It was so easy to refresh and clean. This is perfect for birdwatching on porches, balconies or decks, the wrought iron bracket has C-type clamp that holds the bracket to the railing without need for drilling or permanent mounting.
A word about buying quality. Although I have had large dinner plates, pretty glass saucers, and cement birdbaths, there is one material that I must suggest. I have owned the same copper birdbath bowl for over 20 years. It is so easy just to blast water from a hose to clean and fill and is loved by the birds since I place a flat blue rock in the center for the birds to easily land and perch on. You must make sure it doesn’t easily tip over and this birdbath certainly fits the bill.
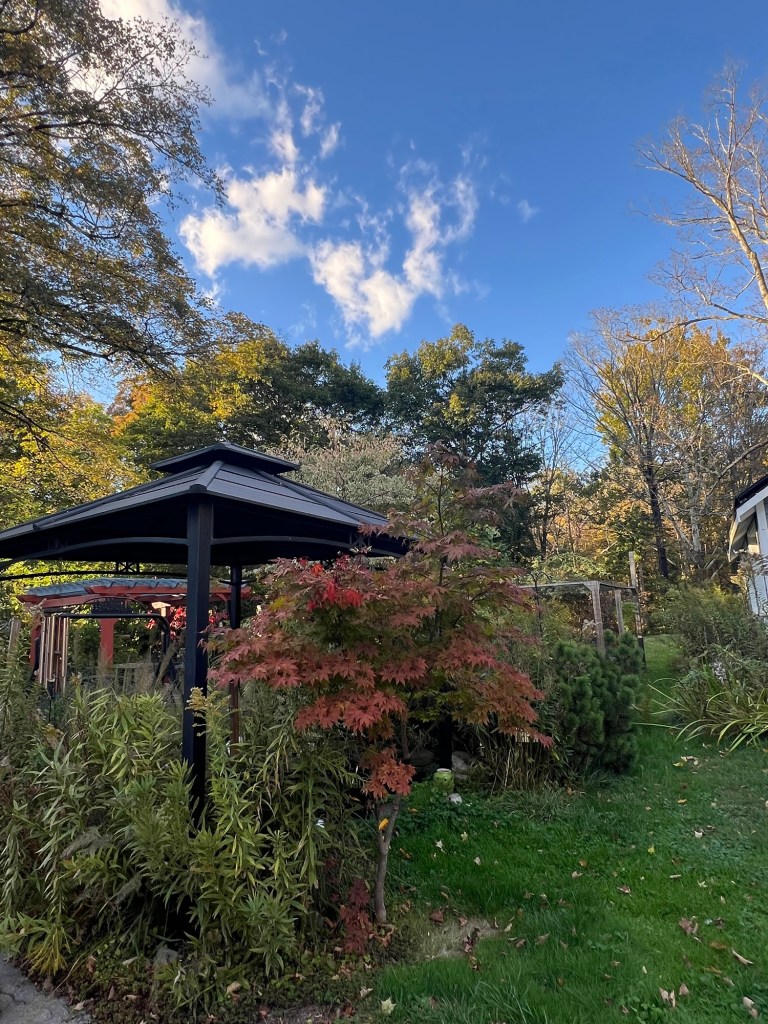
Can not help but share this adorable bench to add to your garden. I will be doing a post on bench placement soon since I have used feng shui principals in every garden I have designed. There always seems to be another place to be able to sit and enjoy a view of your bird feeder, flower garden, sunset, or for stargazing.
There was one VERY obvious must-do after coming inside the back door from the garden this afternoon and that was tracking in the damp soil. It is past time to replace the backdoor rug that will trap all the mug and rain.

Photo of crocus and snowdrops.
What do you want to grow this year? Make a list of what vegetables and herbs you want to eat and then decide what to grow from seed or purchase from a local nursery, plant sale, or online. Organic and heirloom seeds are personal favorites.
Starting plants from seeds is easy. Really! You will find that there is a much wider choice of varieties once you start looking at seed catalogs. But… that positive is what will “get you in trouble” because the tendency is to order way more than you have space for! Thankfully, the majority of seeds (except onion seeds) will be just fine for two-to-three years.
Warm weather crops such as tomatoes and peppers must be started indoors and sowing some lettuce, herbs, and flowers inside will give them a jumpstart before you transplant them outdoors. Have your garden plans in front of you to make sure you have the space for what is tempting you!
Let’s concentrate first on what you absolutely MUST HAVE on hand to start seeds inside.
Following posts will cover how to prepare for growing, the “art of sowing” and how to transplant your seedlings.
As an Amazon affiliate, I suggest products I love and also research the best products and earn a commission from qualifying purchases you may order by clicking on the light blue underlined links.
SEED STARTING ESSENTIALS
Seeds need light. Look for a place to put your growing seed trays where they will get direct sunlight; 12-15 hours is ideal. Look at south-facing windows or you will have to use lamps or purchase lighting expressly designed for seed growth.
Lights
The whole setup for lighting and indoor seed starting and growing is right here.
These lights are easy to clip on to a table and you can set the timer to make sure they are getting as real “fake day” of light.
Heat Mats
Seeds need warmth to start germinating and the top of the refrigerator or top of a radiator has worked but a warming mat is a non-draft and sure-fire solution.
Here are two suggestions: this one and if you are starting a lot of seedlings, this will make better sense. Be sure to check the measurements of your seed trays before deciding.
Seed Trays and Covers
You want to purchase enough “cells” to start your seeds in and this seed tray with humidity dome is ideal. The name Burpee is a tried-and-true and these standard trays do the job.
Seed-starting soil
Yes, there is a special soil that is formulated to make it easy for germination and early root growth. The key to all great gardens is the health of your soil and this seed-starting mixture is a winner.
Seed Pots
Grow and plant directly into the ground with these organic peat pots. Tap soil around the edges so the entire pot is in the ground. What a great start for the health of your seedlings!
WARNING: YOU WILL WANT TO CHOOSE MANY MORE SEEDS THAT YOU HAVE NO ROOM FOR!
So, make a list of what you really want to be able to just walk out the door to eat or cut to add fresh herbs to your recipes. Wanting to add wildflowers? Even if you have snow, toss a mix where you want them to grow!
One more addition to keeping track of your garden; check out this fabulous garden planner that is wise and top quality.
